Creating using Tableau webhooks with PowerAutomate and Teams
date: 21 Feb 2021
Scenario
You have a team that monitors the health and function of your Tableau Server, whether on premise or TableauOnline. You have many extracts that are in use and it’s critical to understand when something needs to be fixed.
The team that monitors the system has rotating on call, so they don’t all want to be notified when something happens
Problem
Tableau Server only provides notification using email and (soon as of Feb 2021) Slack.
- Email is so 2010! Besides, there are issues making sure that the notifications don’t get lost in the noise.
- Slack is more immediate, but not used by all organization
Solutions
- Roll your own code
- Lets you do whatever you need and provide notification however you want, but it consumes development resources, can be slow, opportunity cost
- use PowerAutomate and Teams
- included in many enterprise agreements for Office365, so may not have added cost
- easy to setup
- Teams notifications can managed by each individual to turn them on/off when needed by their rotation
Creating the webhook and linking it
Tableau
Create a Personal Access Token
- Go to the appropriate User Account Settings Page
- Scroll to Personal Access Tokens
- Add a name
- Click “Create new token”

- Dialog box pops up with your token. Make sure you save it!
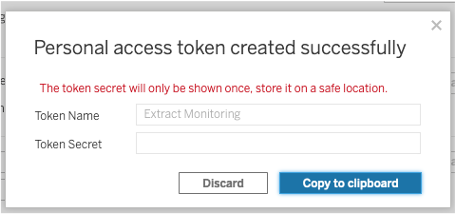
- My token is blanked out. No need for you to access my system. :smiley:
- Token will now be listed

- Token lifespan:
- Expire if not used for 15 days. Expiration time can be adjusted if needed
- Expire in 1 year if used at least every 15 days
- REMEMBER YOUR EXPIRATION DATES!!!!
Postman
Environment
- Install Tableau Webhooks Requests Collection
- Setup Environment
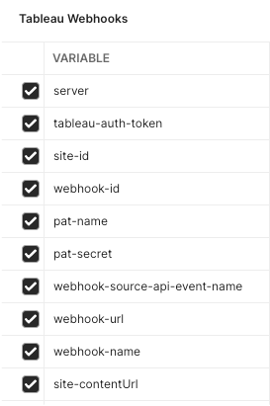
- Open JSON > Sign in (personal access token)
- site-contentUrl is the name of your site
- pat-name is the name of the token that you created above
- pat-secret is the value of the token
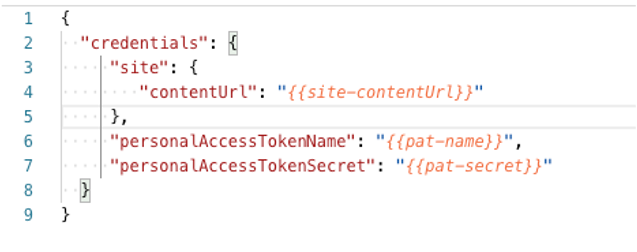
- Click send
- Response (values removed)
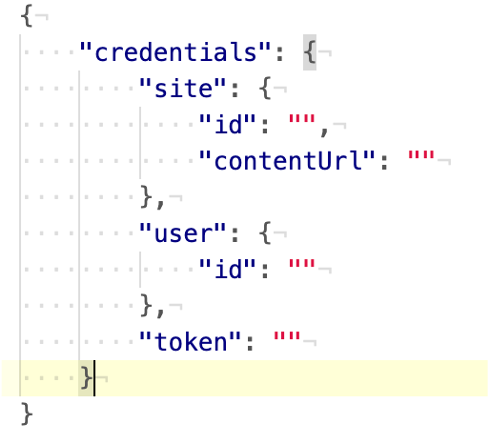
- Place the value of “token” in the tableau-auth-token variable in the environment
- The completes the environment setup
- The auth token has a lifespan and will need to be regenerated periodically
Webhooks
- Open “List webhooks”
- Click send
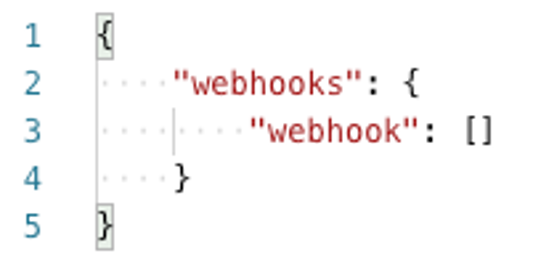
- You should get an empty list for now
Teams
- Create a team for monitoring or decide on one to reuse
- Create a channel for monitoring (best not to clutter an existing channel)
Power Automate
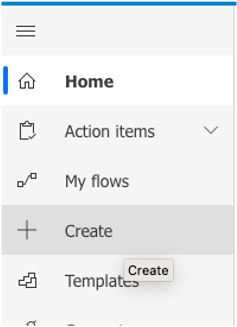
- Create
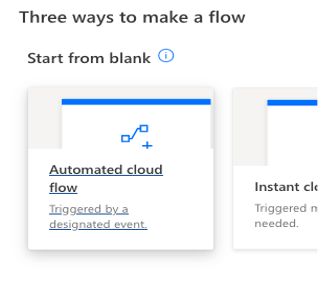
- Start from blank > Automated cloud flow
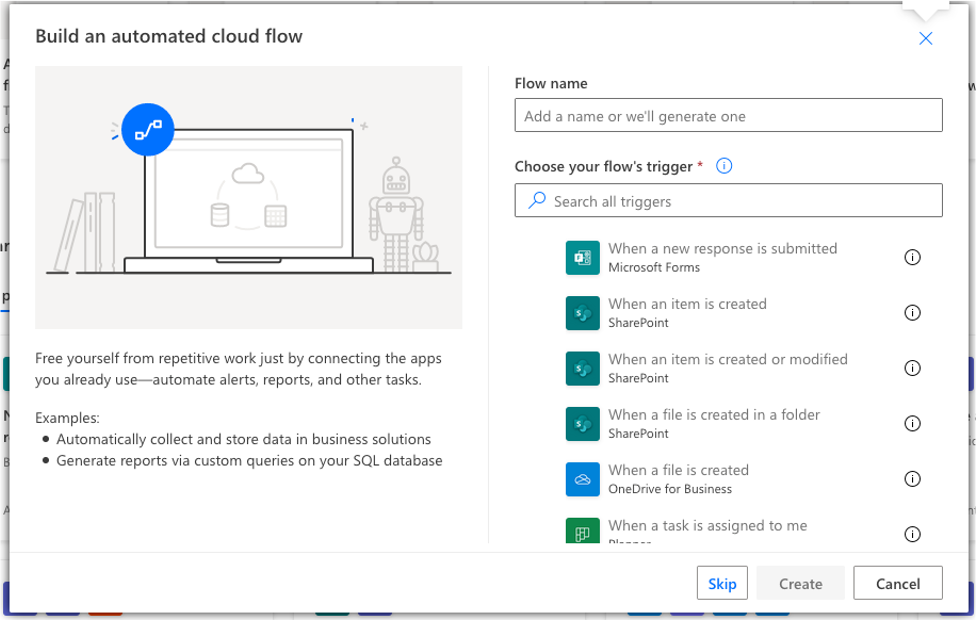
- Click Skip
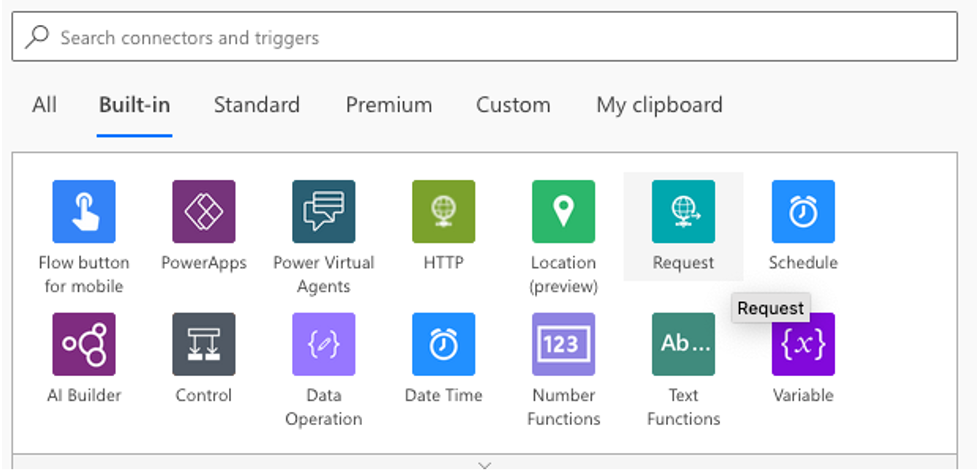
- Click Built-in and the Request
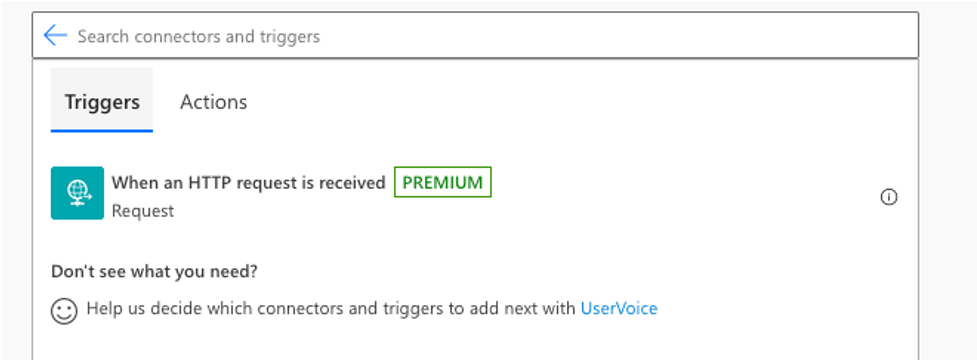
- Click “When an HTTP request is received”
- Click “Use sample payload to generate schema”
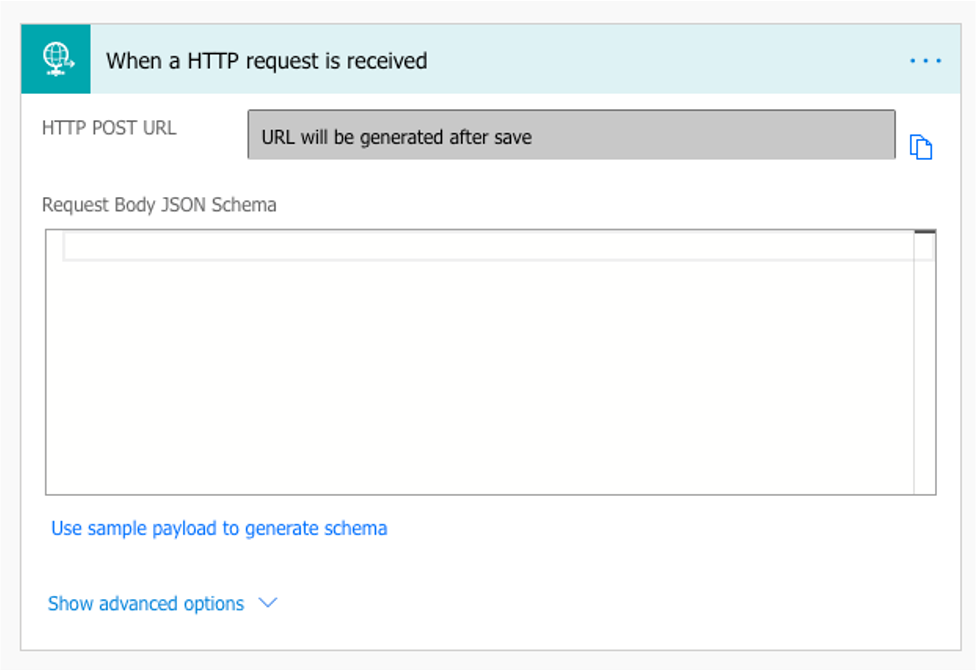
- Paste payload from webhooks documentation or just grab it here:
{
  "resource":"DATASOURCE",

  "event_type":"DatasourceCreated",

  "resource_name":"My Datasource",

  "site_luid":"8b2a95d8-52b9-40a4-8712-cd6da771bd1b",

  "resource_luid":"99",

  "created_at":"2018-11-15T17:14:45Z"
}
- Click OK
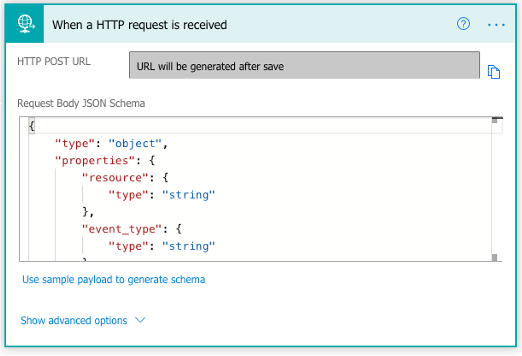
- Click “+ New step”

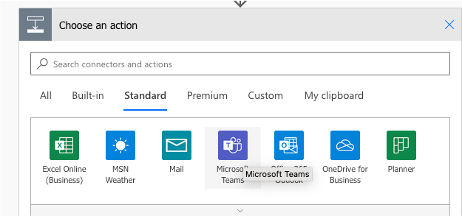
- Choose “Standard” and then “Microsoft Teams”
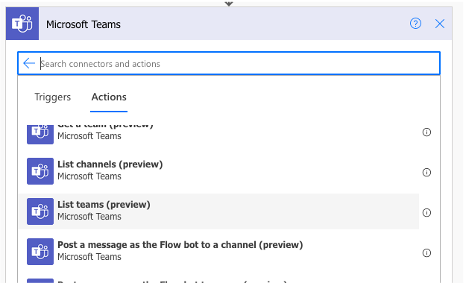
- Choose “Post a message as the Flow bot to a channel (preview)
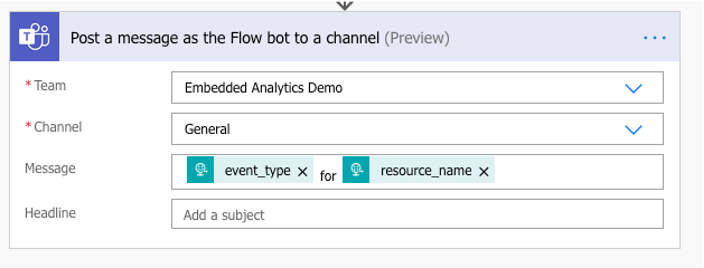
- Set the Team, Channel, and message
- Click on the request step and copy the URL that is created

Postman
Update the environment
- Place the target URL in the “webhook-url” variable
- Set the event that you’d like to monitor
- Ex.:
webhook-source-event-datasource-refresh-started
- Ex.:
- Set the name of the webhook that you would like to create
Create the webhook
- Open the “Create a webhook” request
- Click “Send”
- The response will contain the details of the webhook
- Open the “List webhooks” request
- Click “Send”
- The list will now contain your webhook
Monitoring after the webhook and flow are created
- The list will now contain your webhook
- New extract refreshes/successes/failures will be posted to the channel

- The message shows an ID for whoever created the flow, but updating passwords, etc. is not required for that user
- That’s why we used the flowbot
- On my team, we only monitor failures and only for key pieces of content. The volume of traffic is too high beyond that.
- The resource name could be used to construct more sophisticated routing if needed